equine

Tail Boot: A Review

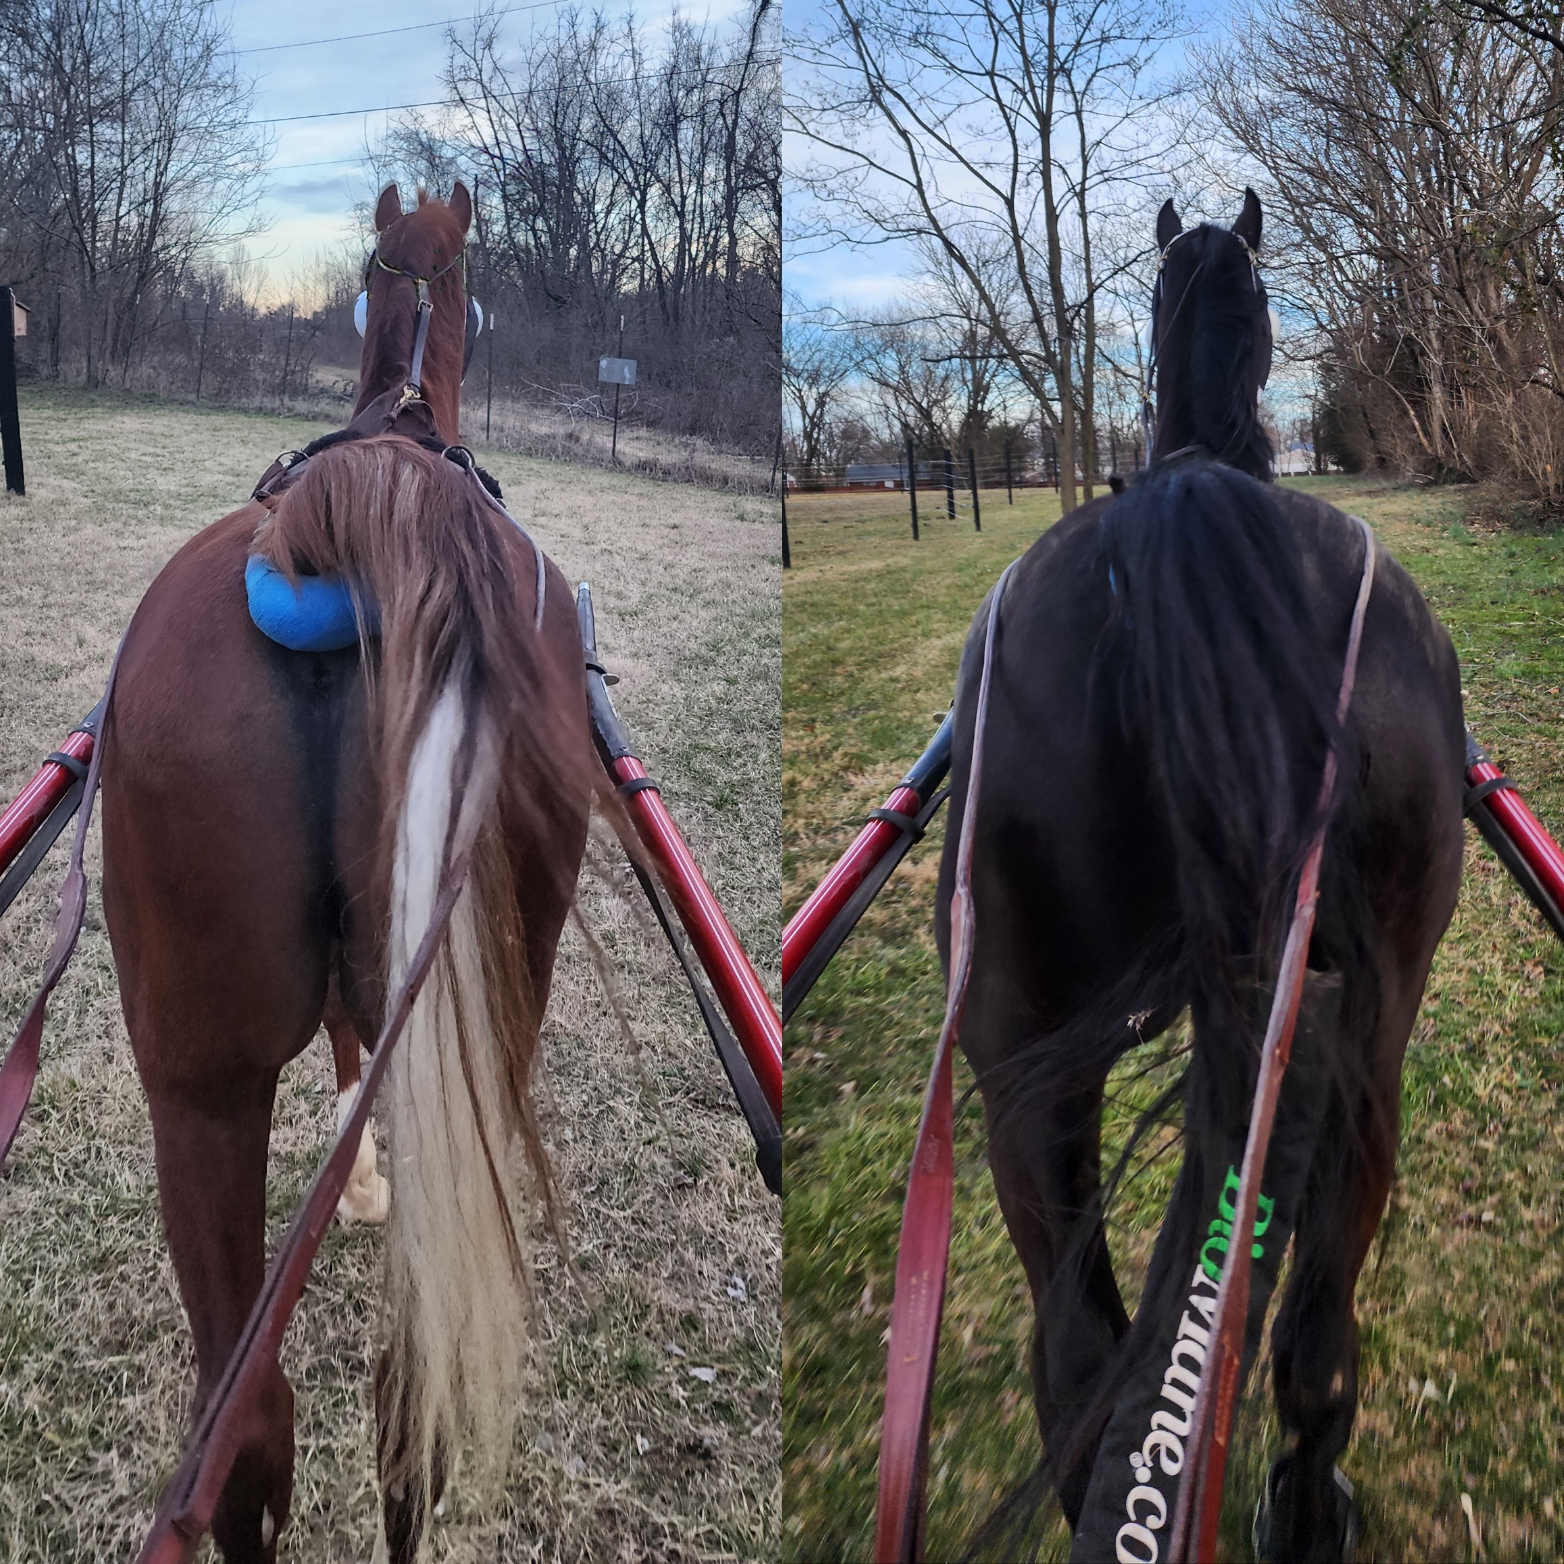
Pretty tails… the bane of my existence. I love a long, thick, beautiful tail. However, I have struggled to grow one with the horses I have!! Fizz has finally started to grow a longer tail since I brought him home in 2022, but a lot of it grows WHITE. And, well…it doesn’t stay that way. No one likes a pee and dirt stained tail-send help. Duke’s tail grows like crazy, but he so angrily swats at flies he has ripped a lot of it out having it put up. The nice long part is so thin I want to cry every time I take it down and more hair falls out.

I have used many different style tail bags and even sewed my own and NONE of them have been great. The 3 strand ones, the lycra ones, biomane ones, generic canvas ones, I’ve put them up using a sock, using panty hose, using vet wrap, I’ve tried so many things. Props to you if you can get any of the aforementioned things to work really well, because I simply cannot seem to figure it out.

Being about at my wits end, I ordered the “Tail Boot” because why not, I’ve tried everything else!!

They arrived in short order and I set off washing tails. Let me just say, I might be a little slow because I had to watch the tail boot video a few times before I figured out the real life application of these things. It wasn’t (for me) a “plug and play” deal BUT, they’ve been on for several weeks now and I have had ZERO issues. No broken hair. The boots have not fallen off. No ripping, tearing, etc AND they have “swishers” so Duke can angry swat at every real and imaginary fly in existence.

The construction is really nice. The outer layer is neoprene with velcro to secure it. They swishers are made out of what appears to be baling twine. They are replaceable (you can purchase different colors from the tail boot website) or honestly, I figured if these got damaged I could just make about 12,000 new ones from all that hay string I hoard because I am so unhinged I think I may need it for something one day. There is an inner pouch attachment that holds the braided hair to help secure the boot onto the tail. They come in different standard sizes or they have an option to buy custom sizes, which would be nice for someone who has a horse with a really long, super thick tail or something that may not fit into a standard size category.

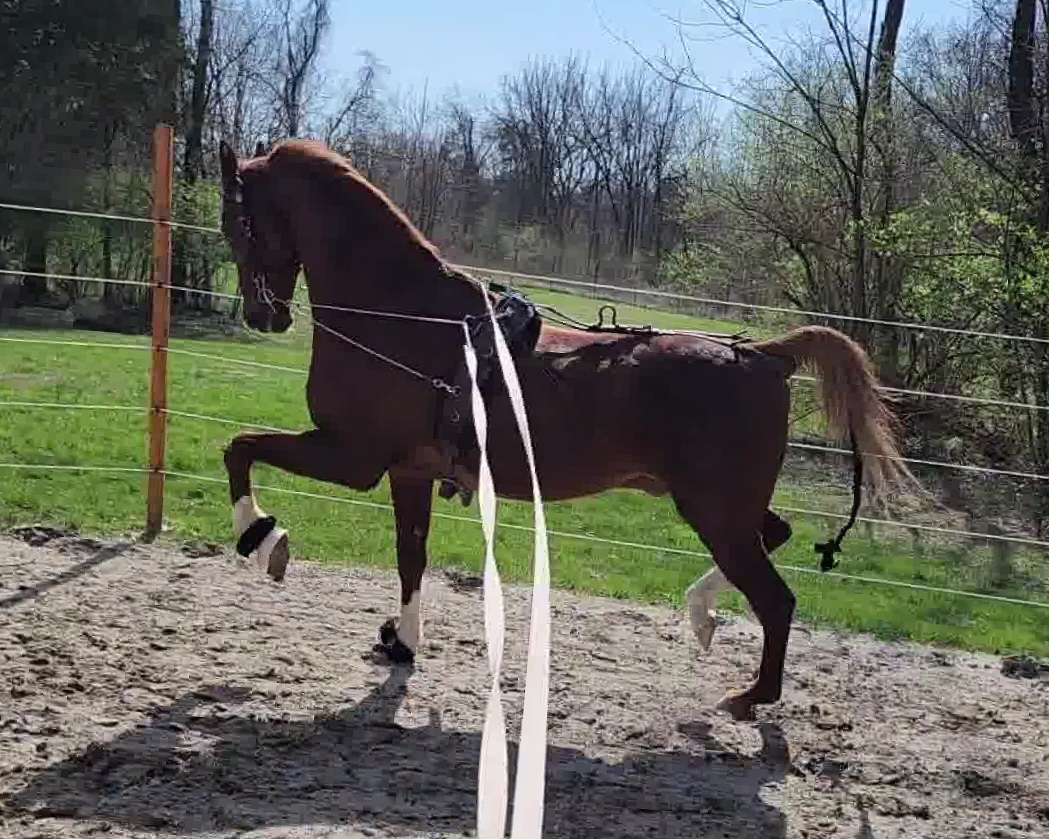
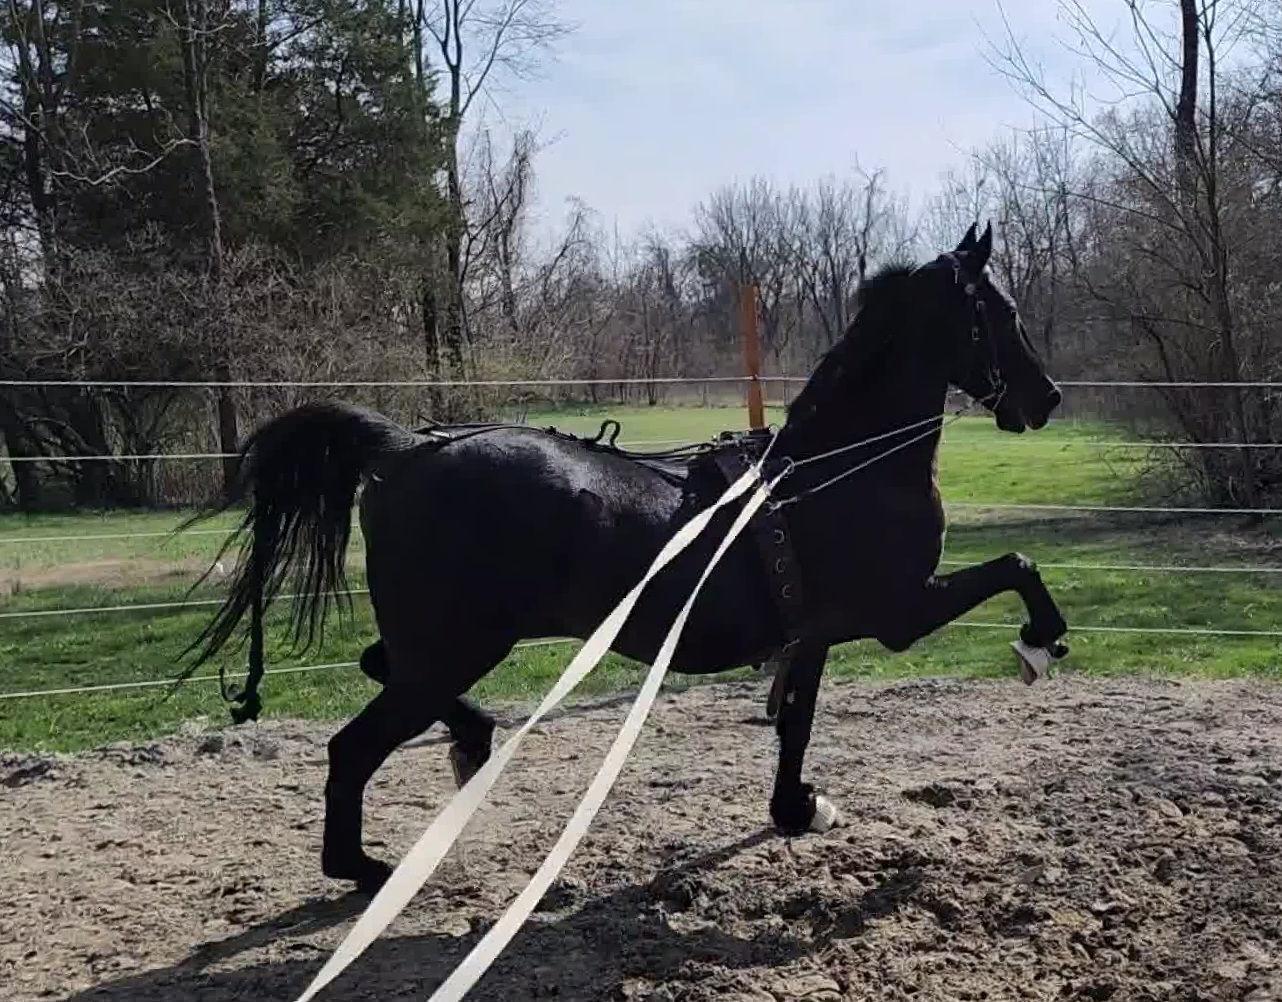
I ordered one size small (for Fizz’s shorter, not super thick tail) and one size medium (for Duke’s super long but pretty thin tail). Below you can see the difference in sizing. I almost needed to size Fizz’s up to the medium, but the small works for now. The medium was perfect for Duke, and has some room to spare if I am able to get his tail thicker.

The hardest part for me was figuring out how to get the tail in the little pouch inside the neoprene outer layer. Again, I might be a little slow. Despite any struggles I had with application, this is the feature I actually loved the most about these! It wraps over the braid to give the tail an extra layer of protection and helps secure the boot to the tail. It really is a very well thought out design.

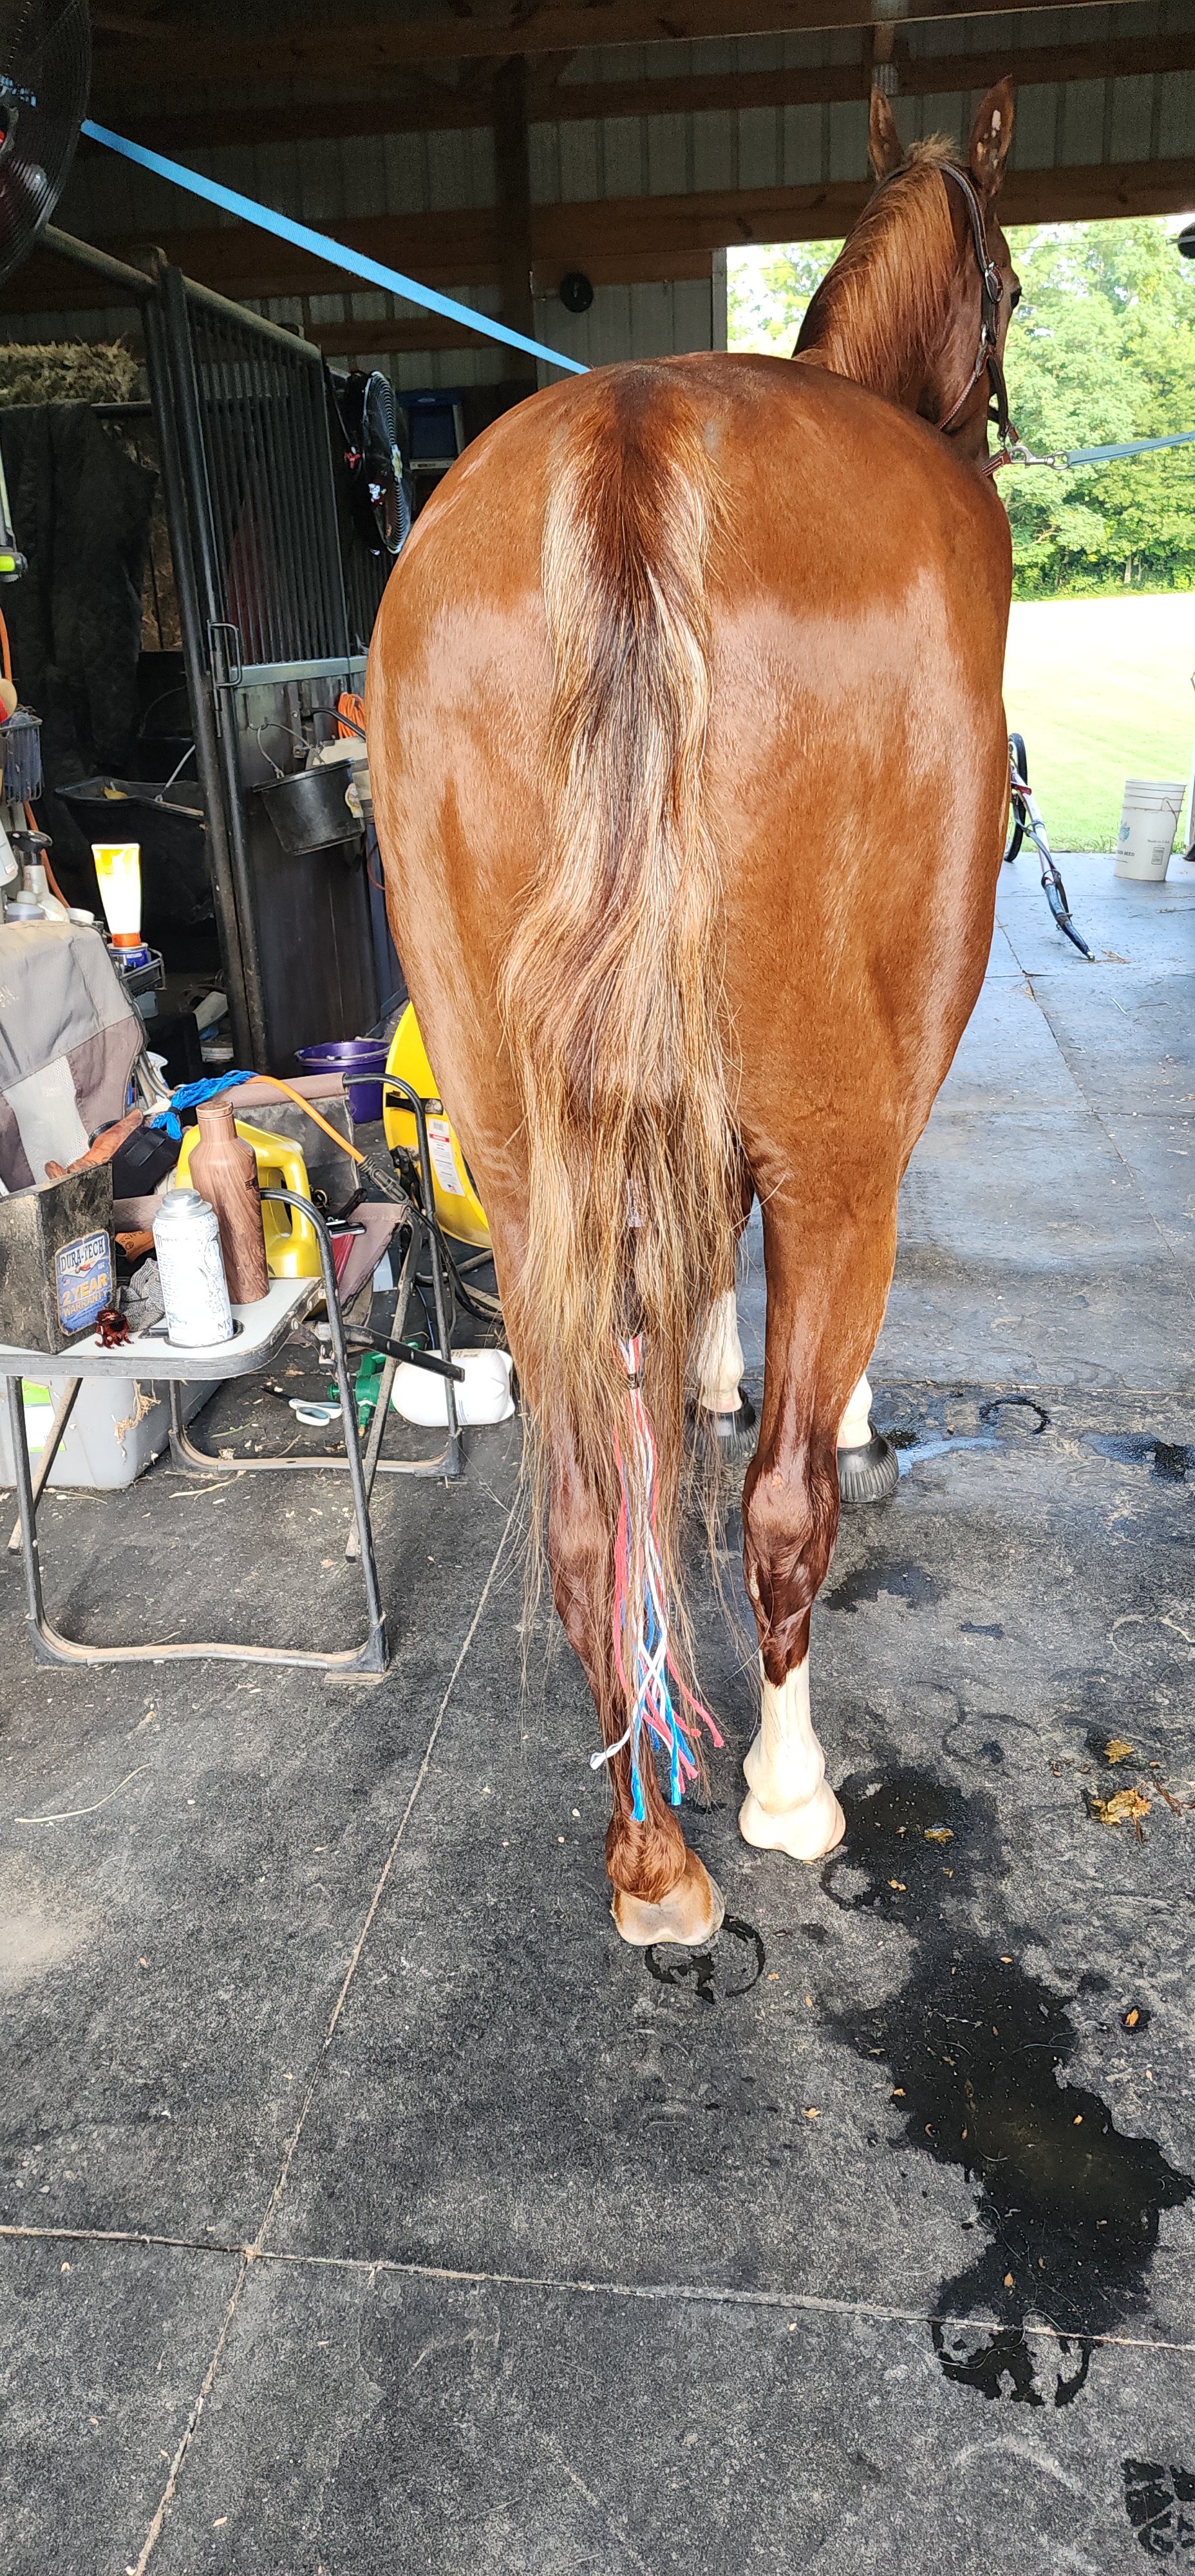
The natural tail (no boot) to how the boot looks once I applied it.

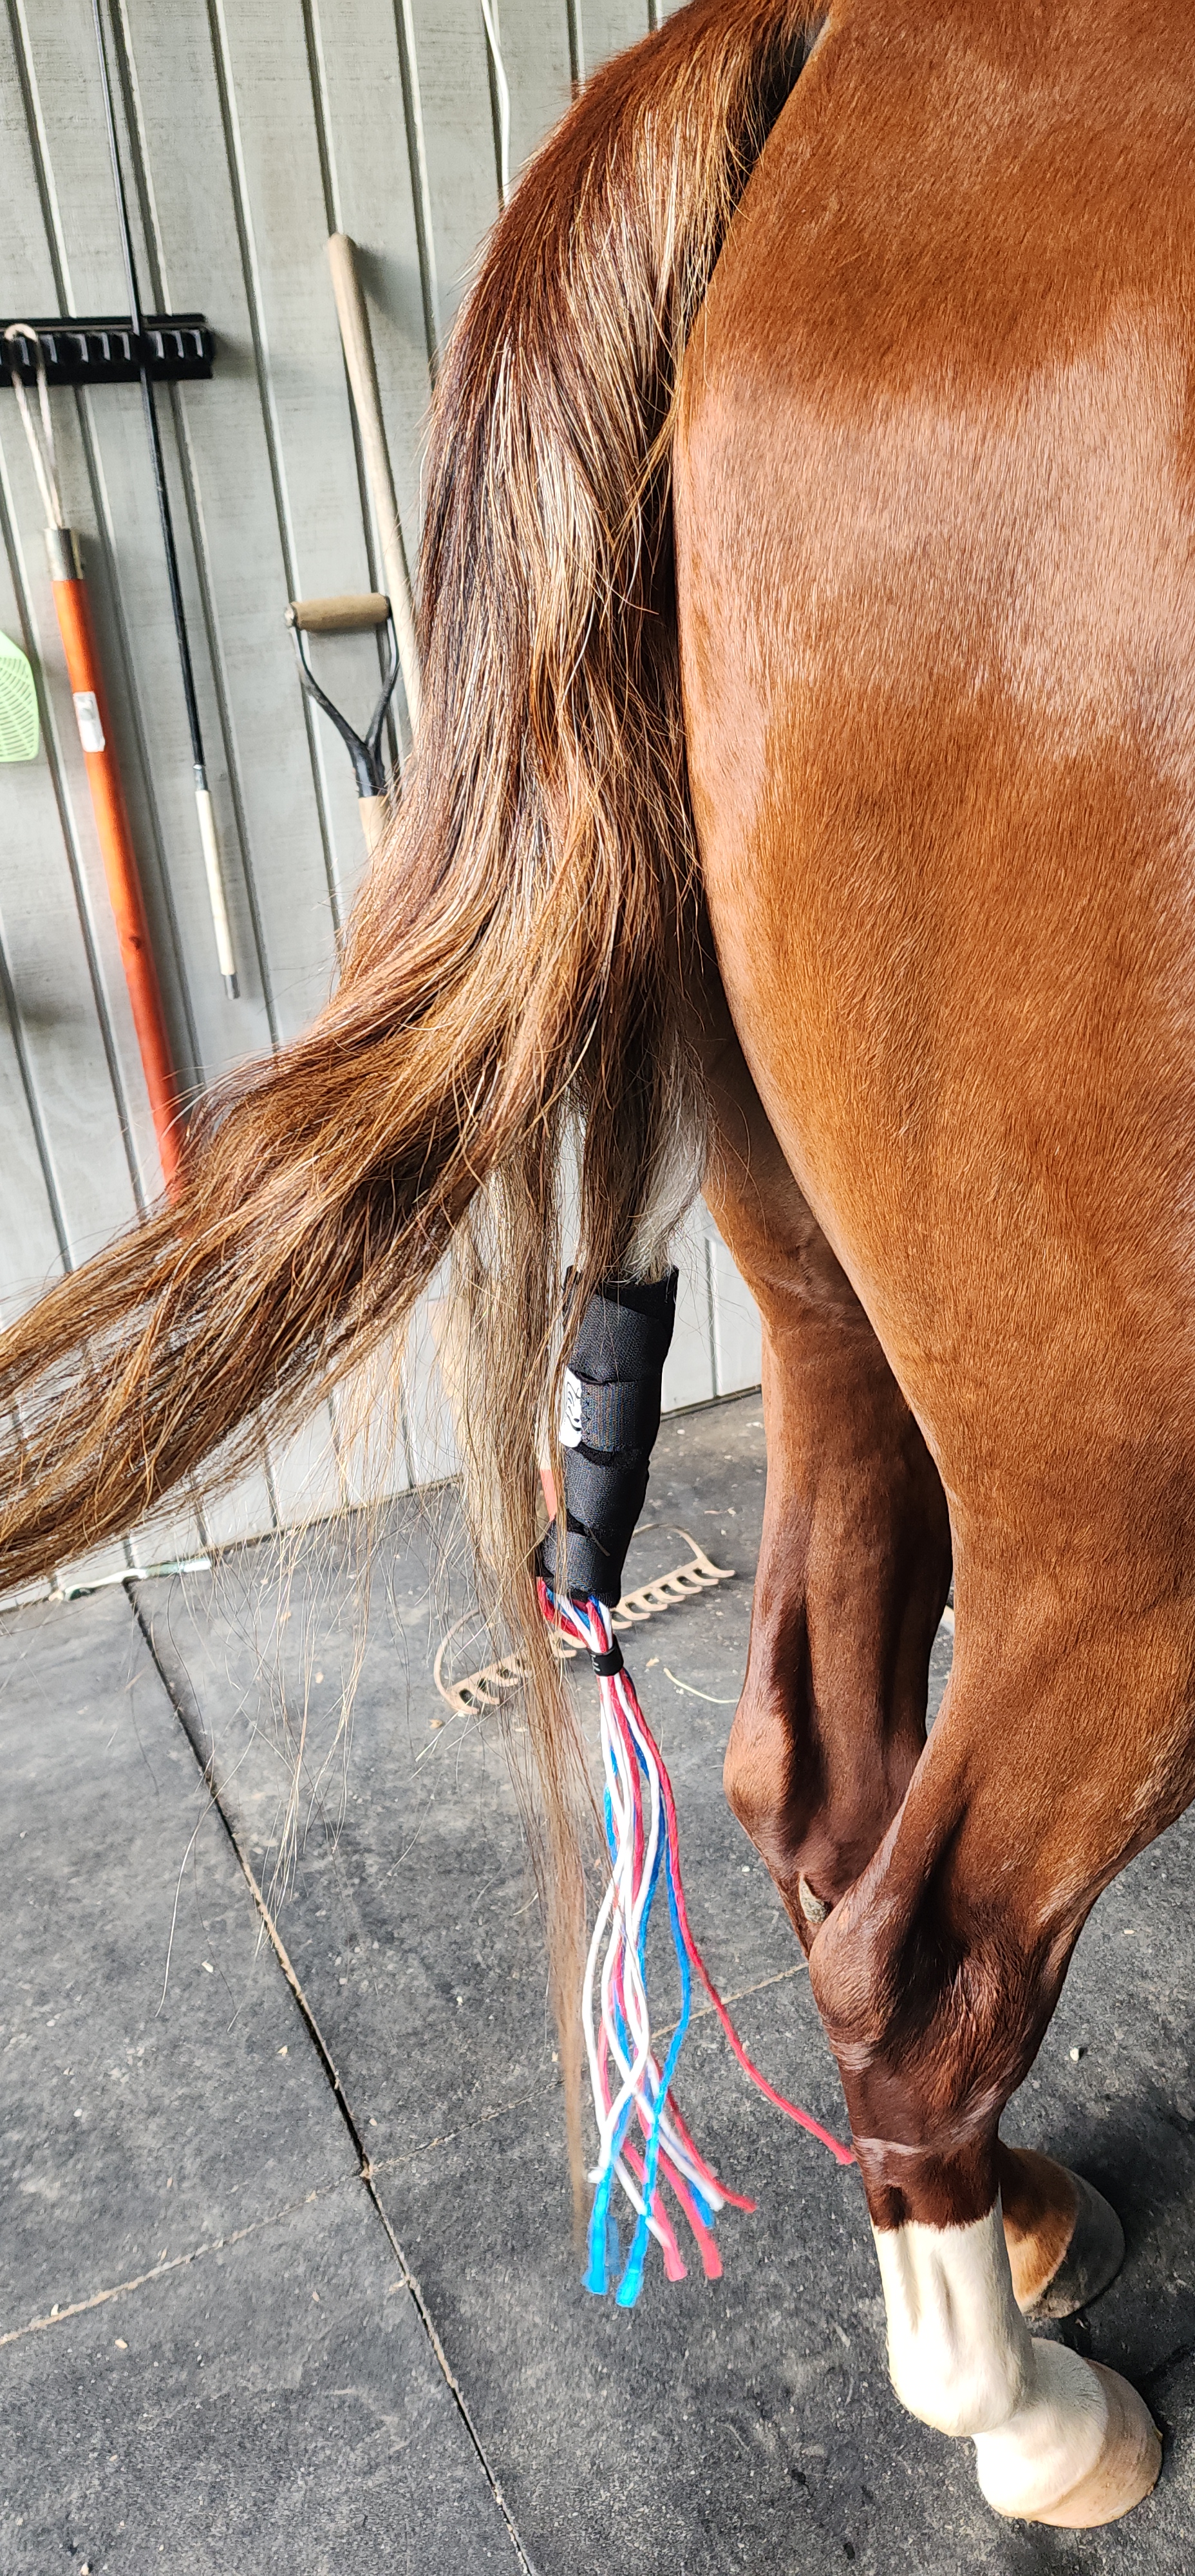
On the tail boot video, it shows braiding up the hair without leaving any feathers out. This goes against everything I’ve ever been taught about braiding tails and I just couldn’t bring myself to do it, so I only braided and put up the “bottom” part of the tail, the same way I’ve been doing since I was a little kid in 4-H. I’m not saying the other way doesn’t work, I’m just saying I am a creature of habit and leaving feathers out of a tail braid is one of the things I’m not capable of changing as a 40-something year old human.

Overall, big thumbs up to these tail boots! I really really like the design, they have (so far) held up really well, and they’ve kept the boys tails dry and clean even when I’ve been having to hose them down a lot due to the KY summer heat we’ve been experiencing lately. A word of advice though, try to steer clear of the swishers; I did not personally like being smacked across the face with a wad of hay string. But whatever, you do you!

Back to Work

Before I started on my AOT journey many years ago now, I didn’t know all the details surrounding actually working a horse. I understood things like ground work, long lining, driving, riding, etc. But I didn’t know a lot about when to do what and how much was enough, or when was too much. Since having my horses at home, I’ve walked the fine line and in the end, the horses always tell you what they need. At least if you have opinionated dragons like mine! I have also made it a point to give them some down time after show season is over. This gives them time to be a horse, to get dirty, to play, to have fun, to rest, and many things that I feel are good for their bodies and brains. We may do a little ride here or there, a trail ride thrown in on a random weekend. Some fun stuff, but no serious work. 

Now that it’s the new year, and the icepocalypse and snowmageddon that beat us down the first part of January is finally starting to melt, it’s time to start thinking about our upcoming show season. For us will probably start in April or May. When you’re starting a horse back to work, you can’t just go full blast back the way you were at the end of last season if they’ve had a lot of down time. Think about your own athletic ability. Say you run 6 days a week for 8 months (Feb-Sept), then decide to take 4 months off (Oct-Jan) and enjoy your extra lavish holiday meals with minimum exercise. How do you think you’re going to feel when you pick running back up again at the end of that 4 month hiatus? You’re not going to have the same stamina you had after all those months of running consistently, right? The same applies for your horse(s). You have to build them back up slowly when bringing them back to work. Otherwise, you risk injury, among other things, causing setbacks you don’t want or need. 

So, how do you do that? It’s easy. Same as you would do for yourself. Take the things you want to do, and start slowly by doing shorter, easier works at first. Gradually increase time and intensity as the days and weeks progress. Now, each horse will be different, the same as people. It could take one horse 2 weeks to get “back in shape” while another takes 2 months or even longer. Age, diet, attitude, and how they are kept day to day all play a role in how long it will take them and you have to treat each one as an individual. I like to start by doing mostly walk, a little bit of trot works on the lunge line for the first few days to get them back into the routine of doing something, but give them something that isn’t very hard to do at first. Next, I will add in long lines and work on bending, steering, body awareness, and contact. Once they are going nicely in lines and listening well to basic commands, I bump up the intensity and length of the sessions. Then I will add jogging with a cart to the mix a day or two a week (more on that below). Lastly, I will mix in full training sessions in the saddle once I feel they have built back up a nice amount of stamina and strength. I may saddle them up before that and try to do a light work, or a trail ride, but it’s not going to be intense 3 gait training.

Once they are going under saddle again, I like to remind them of leg aids and voice commands. My horses know these things, but it’s easy for them to forget when they haven’t been doing them consistently every day for months, so they deserve a little leniency when they don’t respond immediately, or they respond incorrectly and need a reminder of what the aid means. Practicing kindness and understanding goes a long way with the rapport you share with your mount. Rest assured, they will remember, you just have to give them a chance. It may not be on the first try, or the tenth, or the 50th, but keep your consistency and they will come around. My guys usually take several weeks of “reminders” to get back to what I consider appropriate responses and times.

I will also add in ground poles (at the walk) and trot work (on their aids) and do lots of transition work between walking/trotting, poles, and backing up. If you have access to hills, those are great at building strength and stamina and promoting proper movement, even if all you’re doing is hand walking them. I like to long line all around my property and the various terrain, as it gives my horses AND me a workout. Let’s face it, I could stand to have some exercise too after the holiday season and all the snacks my Mom made and I was forced to eat. Ok, fine, forced may be a little bit exaggerated but they were there and I just couldn’t let all her hard work or delicious treats go to waste, OK? Don’t judge me! 

If you have access to a jog cart and you and your horses know how to drive, pulling a cart is excellent for fitness and maneuverability. Plus, it helps to save their backs from so much riding, which I like. When my horses are in full work, I do drive them multiple times a week. Fizz knows how to canter pulling a cart, and it’s really helpful for him to still practice it without the weight of a rider. At the end of last season, I started teaching Duke, but then show season ended and they were turned out so I guess I’ll pick back up when we go back to work this year! My horses do prefer less riding sessions and more of other work, so I try to stick to their rules so that they are also enjoying our sessions. Fizz in particular gets really angry if all you do is ride. Duke is less particular, and will accept more days riding, but not until he’s been fully reminded of everything he knows via lunging, lining, and driving otherwise he will make your life a living hell.

Overall, I like to give them at least 60 days of consistent work to get back “in shape” before taking them to a show. Consistent work meaning 4-6 days a week. Now, sometimes this is possible and sometimes not, but that’s my goal.