I very much dislike being cold. I do not appreciate cold weather, below freezing temperatures, snow, or anything related to winter time. As such, I needed a solution to the frozen water trough debacle I dealt with all last winter. I was miserable. The horses weren’t drinking as much since the water was so cold, which we all know isn’t ideal. It was just not fun for anyone. The pasture is about 200 feet from the barn, so running extension cords for a tank heater isn’t really safe and we don’t have the budget to install electric for trough heaters all the way down there. In an ideal world where we had endless money, we would have automatic heated waterers, but we don’t have a money tree so we needed an option that didn’t require running water lines and/or electric or both to the pastures.
So, this summer I asked my husband to help me build an insulated water trough. Bless the horse husbands/partners in this world who didn’t ask for these creatures but still do things for them anyway. He got to building straight away. And let’s be honest here, he didn’t HELP me built it. He built it. I stood there “supervising” and probably making things more complicated than they needed to be. But like, I put most of the insulation in it and painted it, so I was kinda sorta helpful. Anyway, the box was finished and put out about a week before the temps went down below freezing and bless it, IT WORKS.
I know there are a zillion different things out there on how to build these things so feel free to google if you ended up here somehow and think our design sucks. In typical fashion, we didn’t look at or follow any tutorial or other design because we were working mostly with free/cheap materials we had on hand and didn’t have to buy. The horses eat all our money, so we have to make due, OK? Is it kinda ugly, yeah, but does it work? Also yeah. So there you have it. Do with that what you wish.
Materials:
- Water Trough (we used a 50 gallon one)
- 2×4’s
- Plywood
- 1 4×8 piece of 2 inch Foam Board Insulation
- Bubble insulation
- Construction adhesive
- 2 Handles
- Screws
- Waterproof caulk
- Outdoor paint
The box was framed out and covered with bubble insulation, then the sides and bottom were put on over that. My husband gets bubble insulation free from his place of employment, so we had plenty on hand. He brought home a metric ton of it when we were finishing the barn and we never used it all. Since we didn’t have to buy it, why not use it? A little extra can’t hurt, right?
Once the sides were on, the foam insulation was cut and placed in the sides and the last piece reserved for the top of the box. We stuffed bubble insulation in all the crevices on the bottom (in between the ” support joists” at the bottom of the box that the trough sits up on so it isn’t directly on the ground) to fill the space. Then we did another layer of bubble insulation all around the inside. I painted the wood with outdoor paint to try to help it last longer out in the elements. We did not use treated wood. While you certainly can, we can get free untreated 2×4’s and sometimes free plywood, so it’s more cost effective for us to use what we can get for free instead of purchasing treated wood.
Once that was complete, we used construction adhesive to glue the foam board to the top of the box. The next step was to cut the “watering hole” for the horses to access the water. We used a plastic tote bin as a template and a skill saw to cut the hole. Once that was done, the hole piece was attached to a slightly larger piece of scrap wood so the lid could be lifted on/off when the horses are in/out of the field. The corners were all caulked with waterproof outdoor caulk as an added barrier from the elements. Probably not necessary, but we had it laying around and my husband likes using his fancy battery powered caulk gun so he went to town.
I wish I had taken more “in process” photos now, but I didn’t so here’s what I do have!
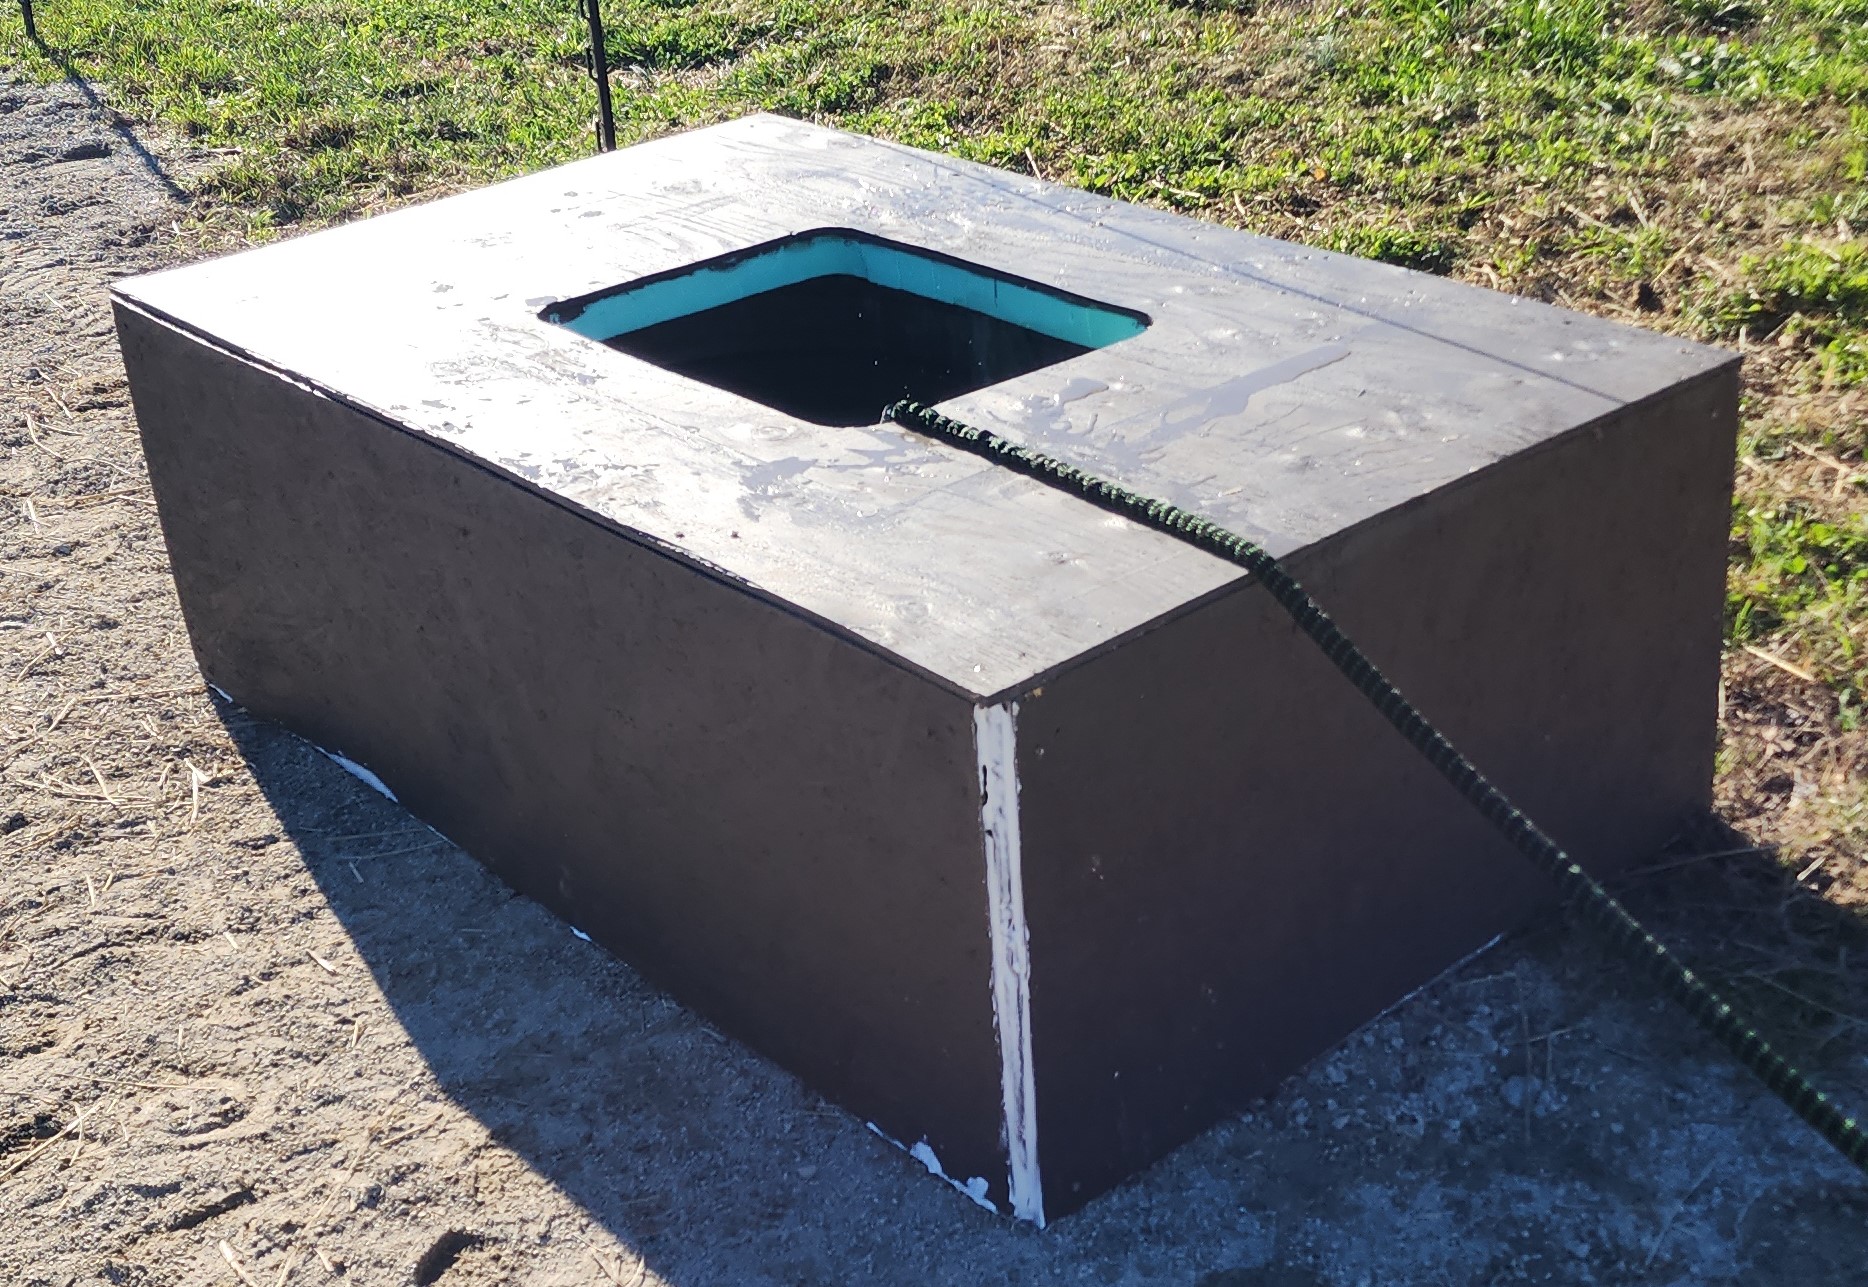
Below is what it looked like “in process”. (Note the top wasn’t screwed on at this point and the trough was not inside the box yet)


It’s being filled up for use!!
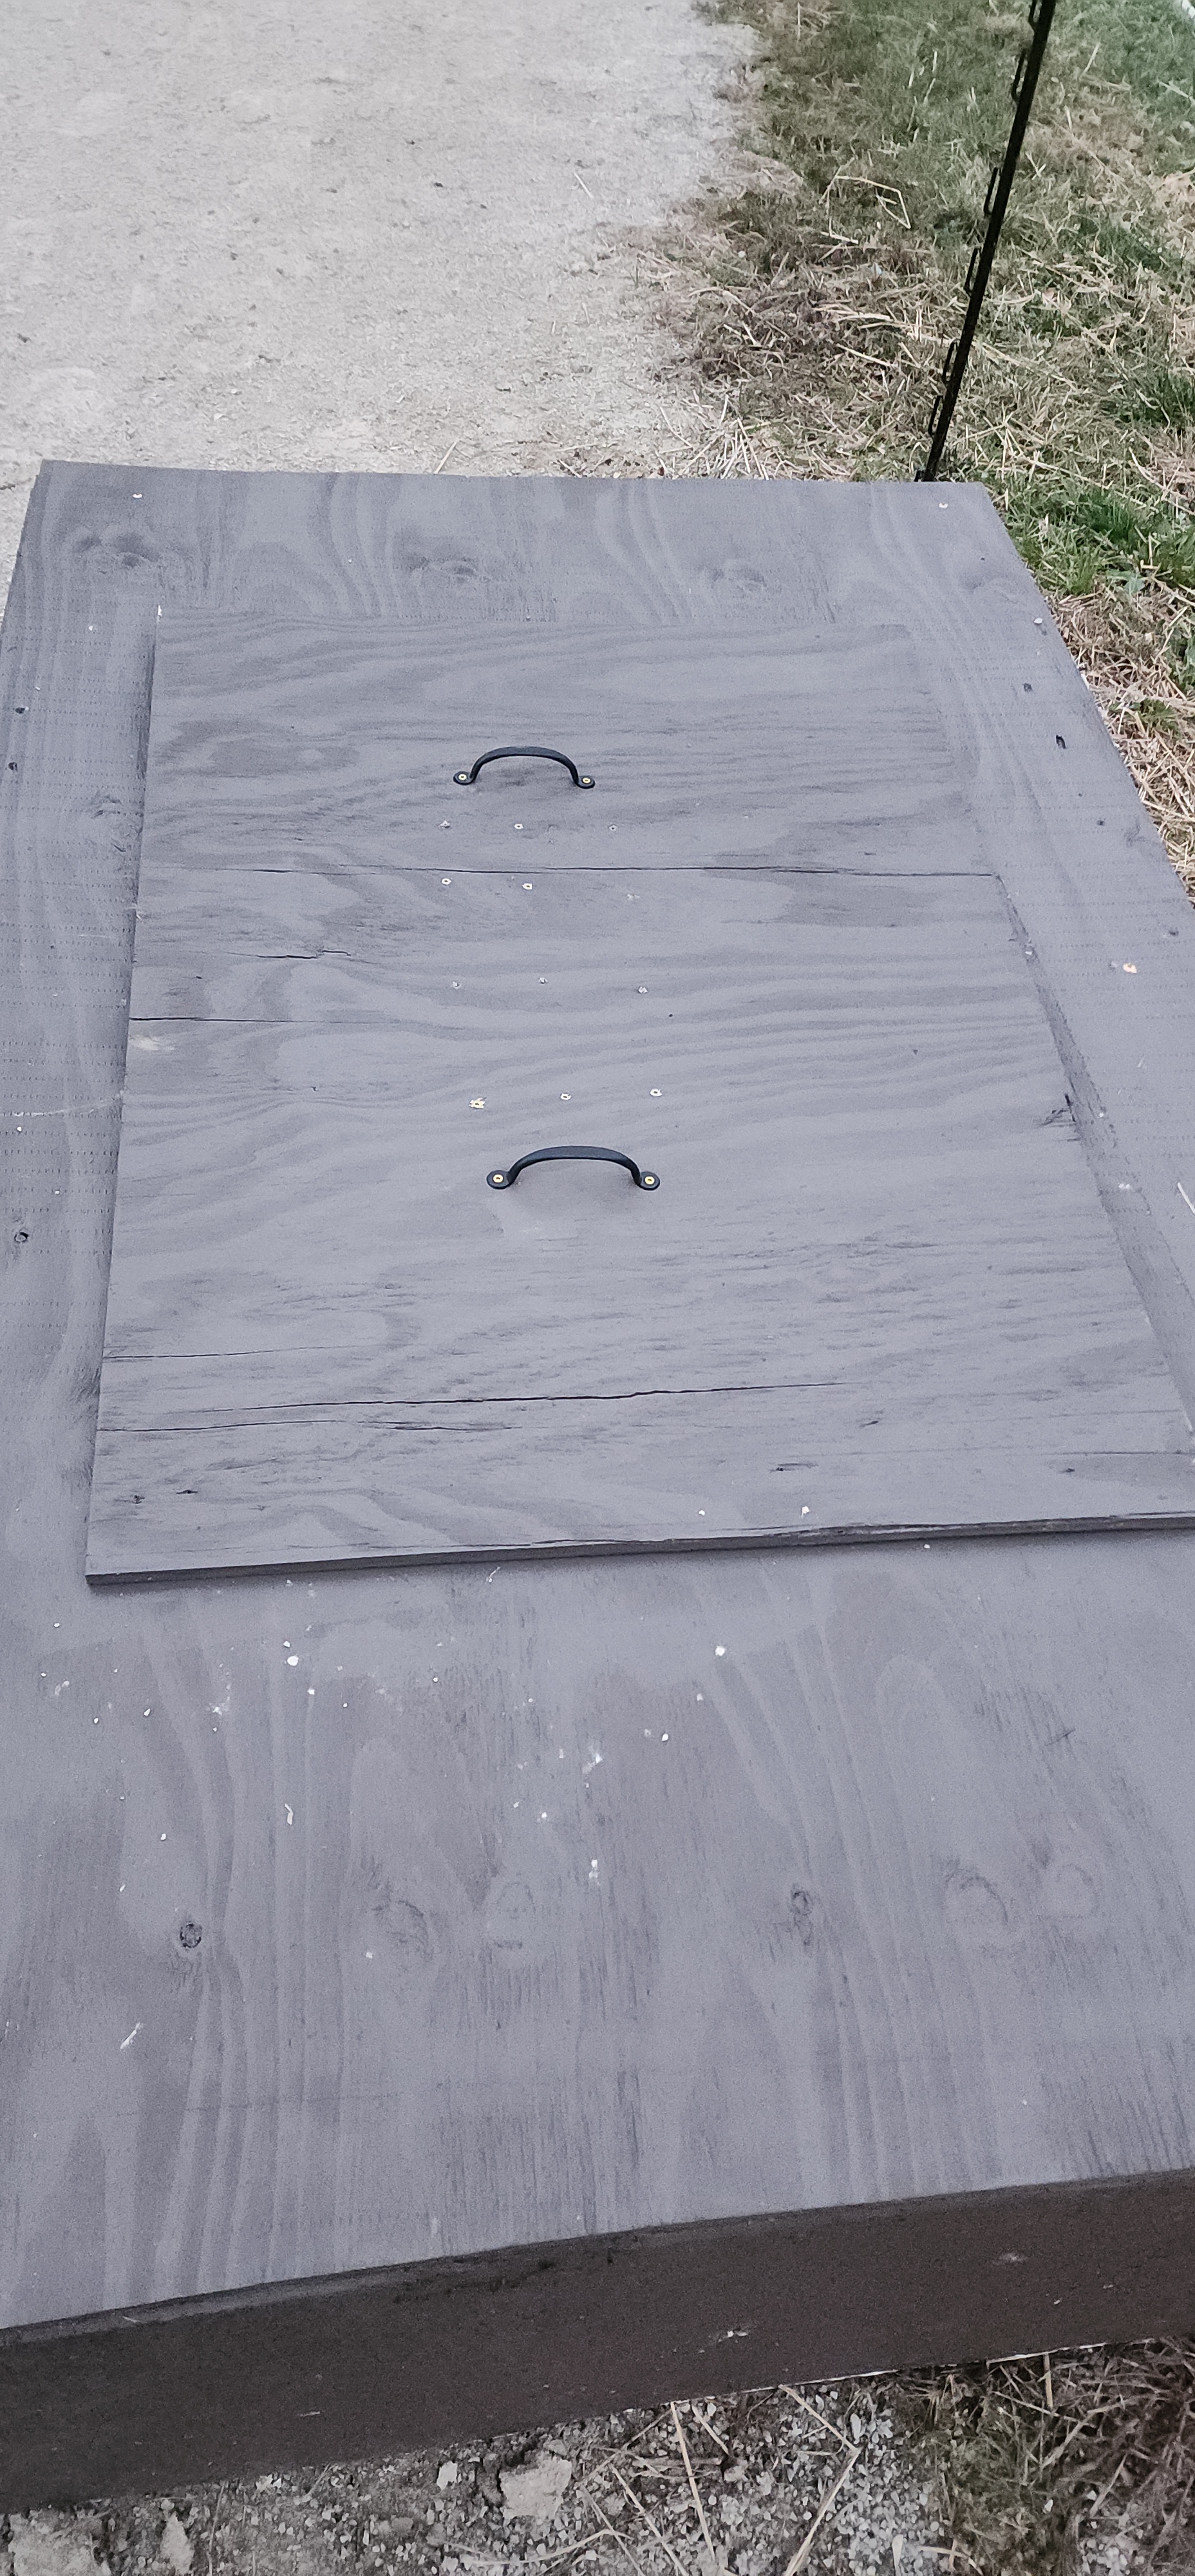
Here’s what the lid for the water hole looks like installed.
And this is what the lid looks like underneath when taken off. Just a tip: Don’t leave it where horses can get to it, they might try to eat it. At least these turds did.

For the last 2 weeks we have had lows in the upper teens and lower 20’s at night. The last several days, it hasn’t gotten above freezing. Since the horses are not outside at night, I put the lid on the box once I bring them in and take it off when I turn them out the next morning. There has not been any morning so far where there was any ice at all on the water when the lid was removed! Last year, I would have for sure been out there with a sledgehammer already busting ice. This right here might be one of the best projects we have done so far!!
I am interested to see if it will help with Algae growth in the summer, as this thing is too big and awkward to keep moving around. It’s here to stay, until it falls apart, then I guess we will build another one!
